← All recipes
flameAppetizerSandwiches
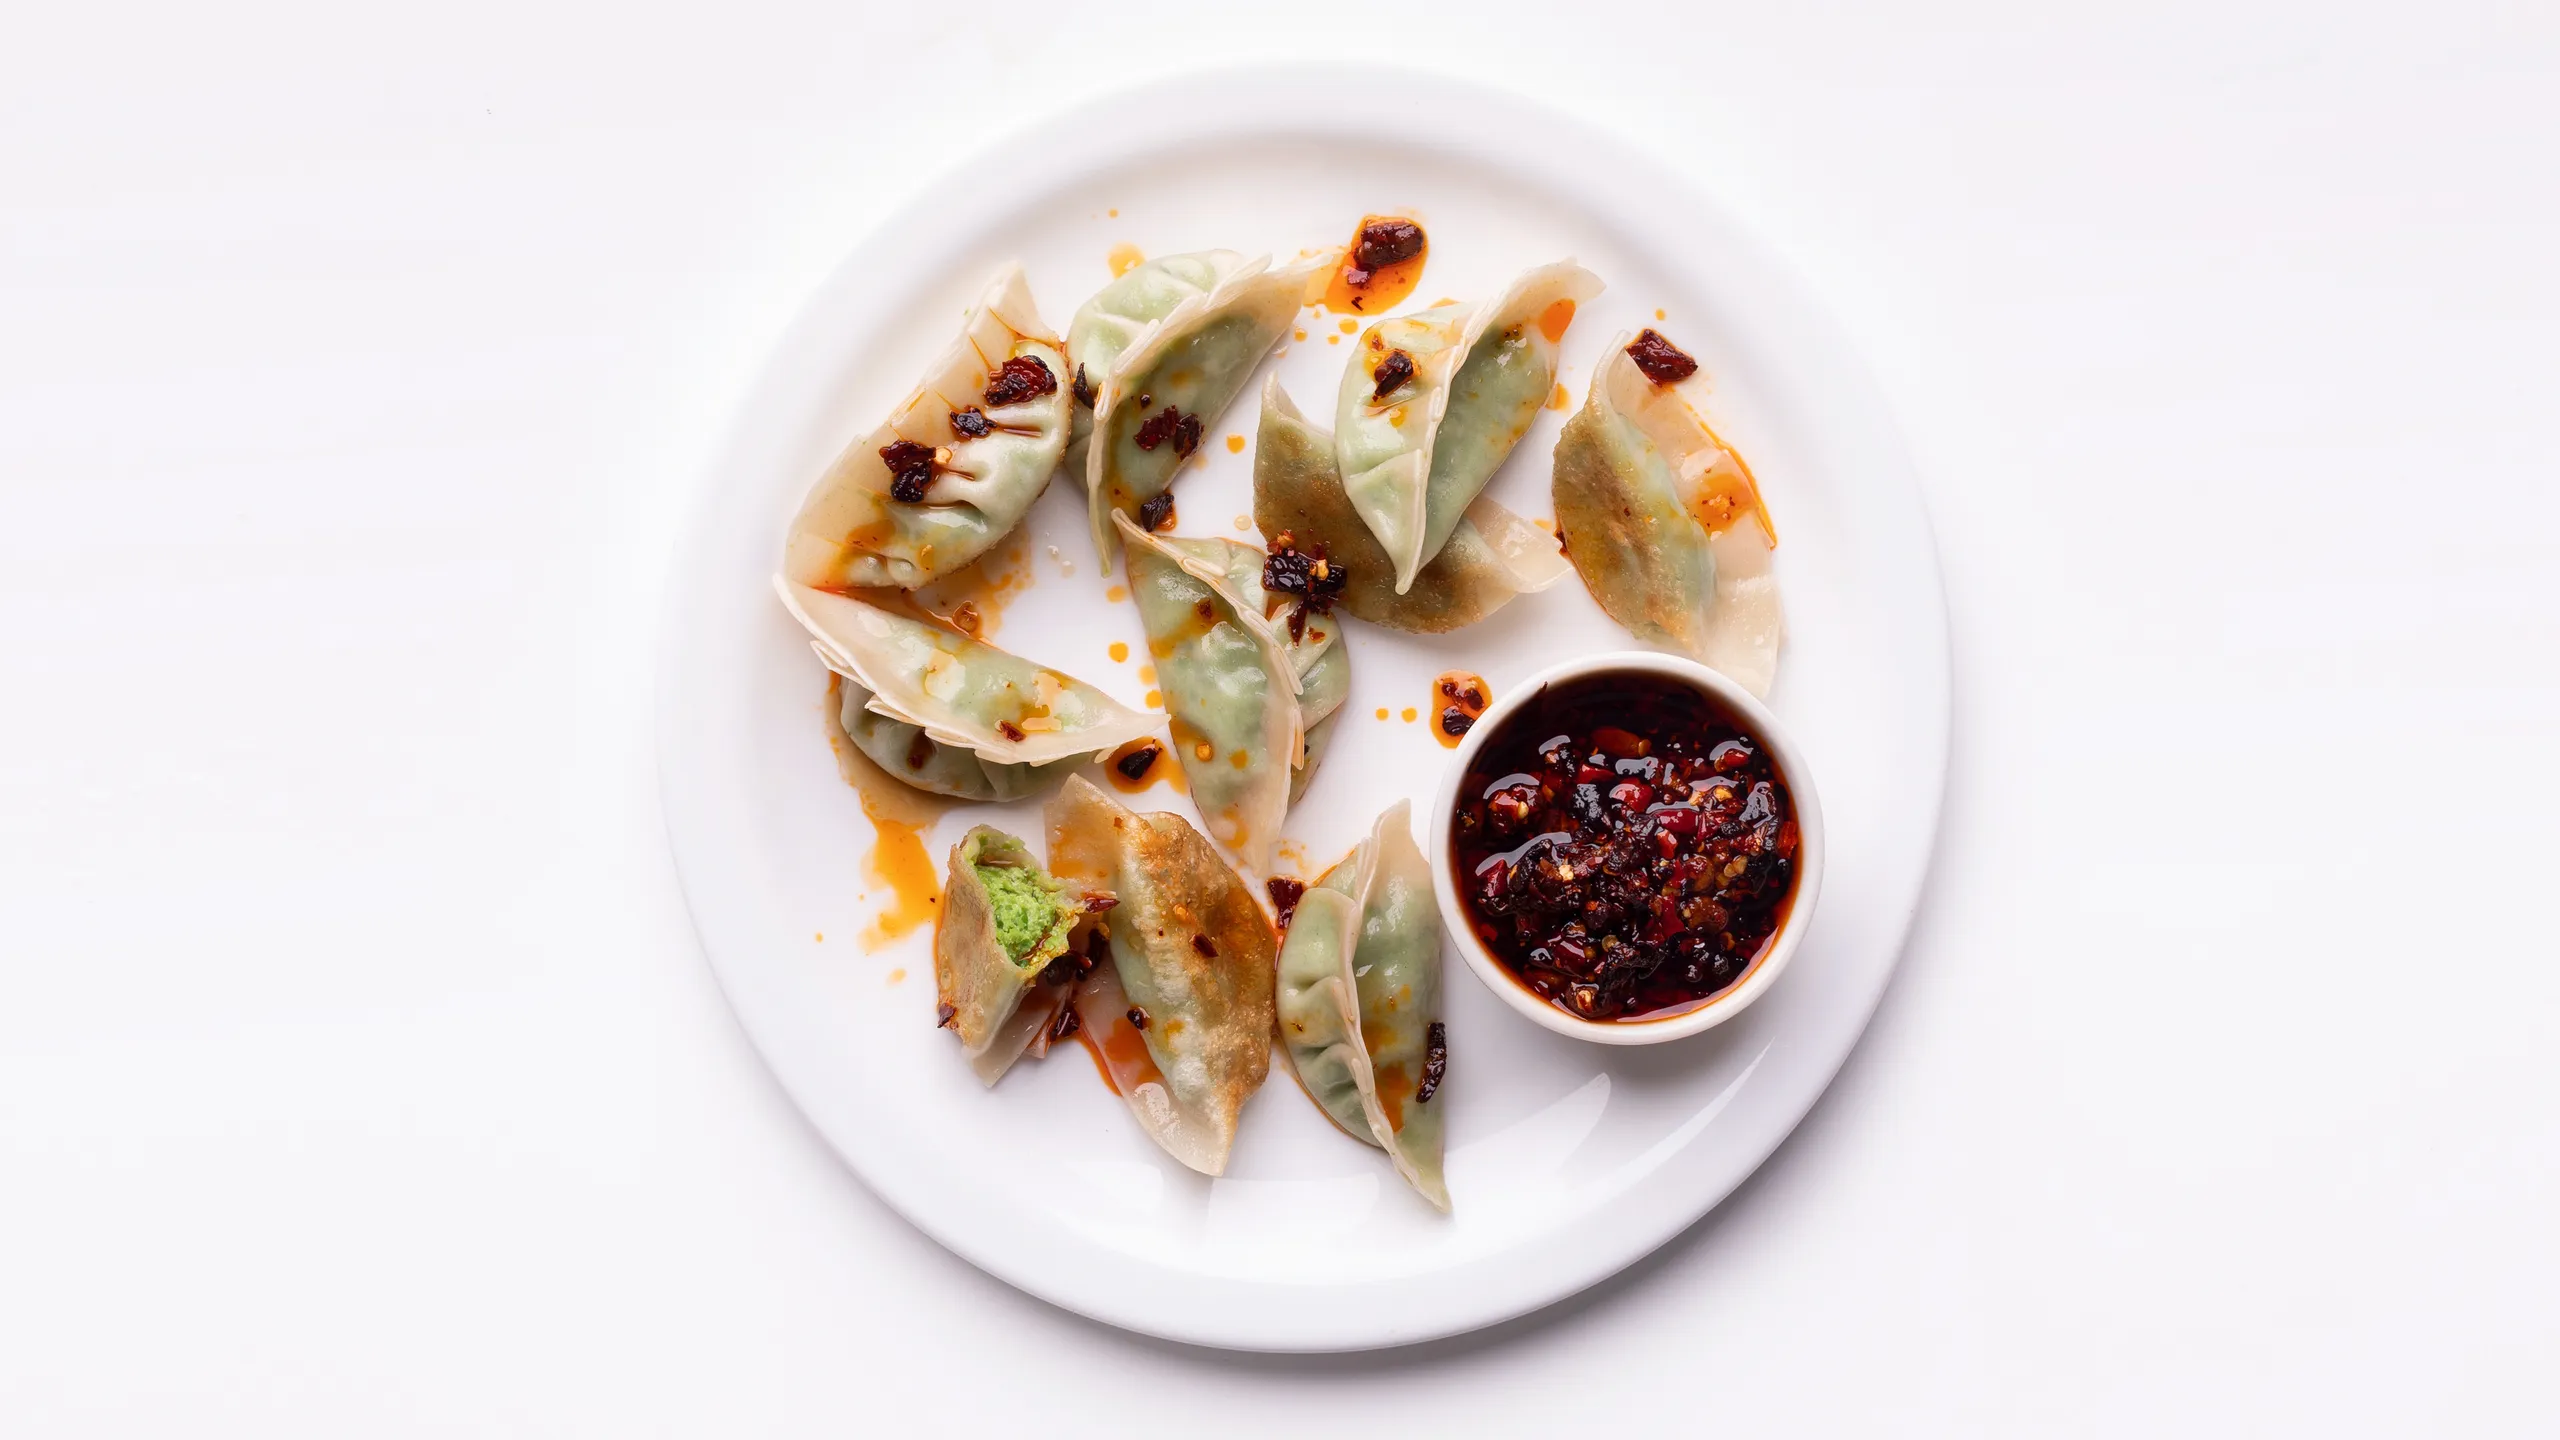
Pea and Ricotta Potstickers with Homemade Dumpling Wrappers
ServesAbout 24
Ingredients
- 2 cups plus 6 Tbsp. (300 g) all-purpose flour (optional); plus more for dusting
- 1 small bunch chives
- 2 cups fresh or frozen peas (about 10 oz.)
- 1 garlic clove
- ½ tsp. Diamond Crystal or ¼ tsp. Morton kosher salt, plus more
Freshly ground black pepper
- ¼ cup fresh ricotta
- 24 store-bought dumpling wrappers (optional)
- 2–3 Tbsp. grapeseed oil or vegetable oil, divided
- Black (Chinkiang) vinegar and/or chili oil or chile crisp (for serving)
Instructions
- To make dumpling dough, bring 1 cup water to a boil in a kettle or small saucepan and let cool 2 minutes. (If you are using store-bought wrappers, skip to step 4.)
- Transfer dough to a very lightly floured surface and knead (by now it won’t be hot) with the heel of your hand until smooth and elastic, about 3 minutes. Wrap dough tightly in plastic and place in a resealable plastic bag. Let sit at room temperature at least 30 minutes and up to 2 hours. The dough will steam in the bag and become softer and easier to work with as it sits.
- Scrape pea purée into a medium bowl; add chopped chives and ½ tsp. Diamond Crystal or ¼ tsp. Morton kosher salt; season with freshly ground black pepper. Stir in ¼ cup fresh ricotta; taste—the mixture should almost be too salty—and season with more salt if needed.
- Now, move back to your dough: Cut dough into 4 equal pieces. Working with 1 piece at a time and keeping remaining pieces covered with a damp kitchen towel, roll into a log. Cut log into 6 equal pieces and roll each piece into a ball. Roll out each ball into a 3½"-diameter round. The correct technique may take some time to master, but the basic principle is to roll the edges of the dough a bit thinner than the center. Hold your dowel in your dominant hand and use your other hand to turn the dough as you roll the edges. Set wrappers aside on a lightly floured surface and cover with a damp kitchen towel. (I usually work in sets of 6 dumplings—roll 6 wrappers, fold 6 dumplings—see below for instructions—then proceed to the next piece of dough, but find a workflow that feels right to you.)
- If you are just starting out, this alternate technique might be easier: Lightly dust your work surface and dowel with flour and roll out dough as thinly as you can, about 1/16" is ideal. Use a well-floured 3½"-diameter biscuit cutter to cut out rounds. Flour rounds well and cover with a kitchen towel. Reroll scraps and continue cutting out rounds until you have used all of the dough. If the dough becomes resistant to rolling, cover and let rest until it softens again. You should get 24–30 wrappers, depending on how thinly you roll out the dough.
- If you are using store-bought dumpling wrappers, have a small bowl of water on hand—dip the very edges of the wrapper into the water and rotate it to wet the edge all the way around. If you are using homemade wrappers, there is no need to wet the edges (unless they have been defrosted from frozen). Using a pastry brush, brush off any excess flour from wrapper. Then, holding wrapper in the palm of your hand, place about 2 tsp. filling in the center. Fold one side of wrapper up and over filling to form a semicircle; pleat edge, working from one corner to the other. Transfer to a baking sheet and situate them so the pleated edge is upright and they have a flat bottom. Cover with a damp kitchen towel and repeat with remaining wrappers and filling.
Originally published at bonappetit.com. Reproduced for personal collection.